Migrating a workload with HCX – Exploring Integrated Services Configuration
The steps involved to do this are as follows:
- To migrate workloads, navigate to the Migration tab and click on MIGRATE, as shown in the following screenshot:
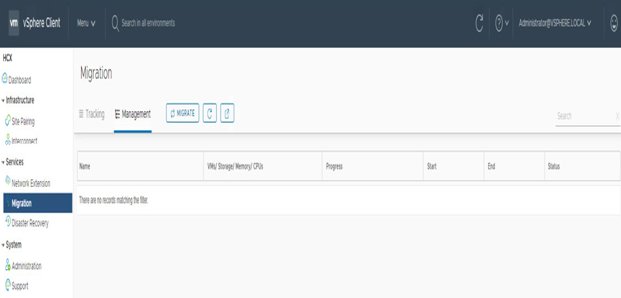
Figure 7.55 – The HCX Migration section
- Now, we need to create a migration group. First, provide the group with a name under Group Name, select the VMs to migrate, and then click on ADD, as shown in the following screenshot:
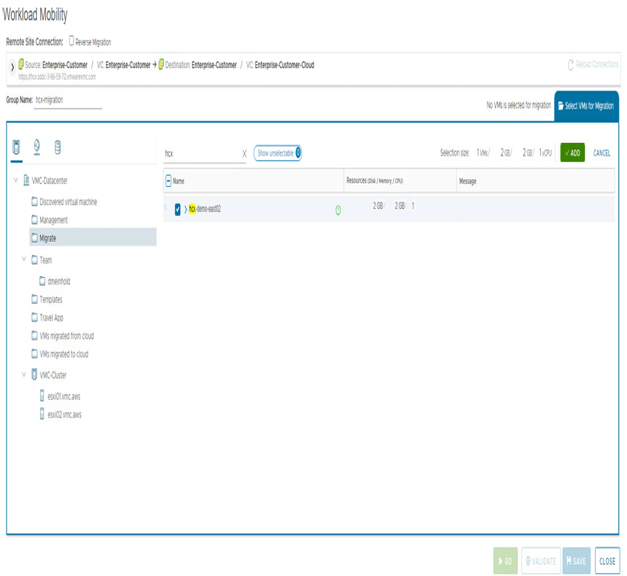
Figure 7.56 – The HCX migration group application selection
- Next, we will need to fill the fields in green to perform resource mapping on the destination side. These include the compute resource pool, data store, folder, migration type, and the destination port group. Then, click on GO, as shown in the following screenshot:
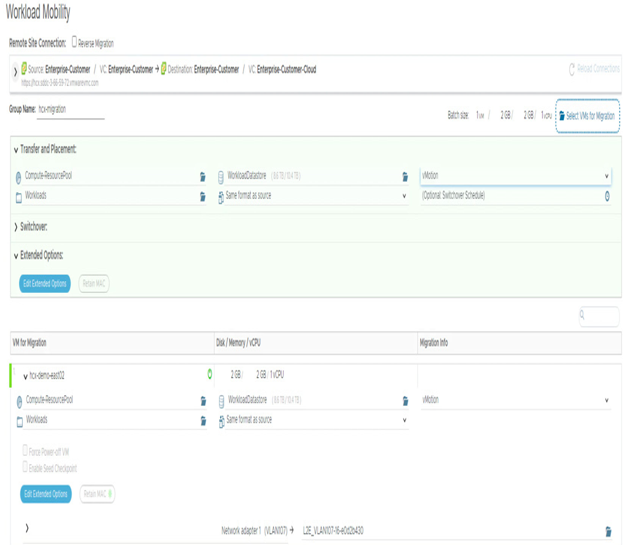
Figure 7.57 – HCX migration resource mapping
NOTE
HCX supports different migration types beyond vMotion. Bulk Migration uses vSphere Replication to replicate the VM data and requires a VM restart when switching to the destination. Replicate-assisted vMotion uses both vSphere replication for the data transfer and vMotion to switch over the VM, providing both flexibility and increased scalability (compared to just vMotion) and avoiding downtime if combined with a layer 2 VLAN extension.
The following screenshot shows the aforementioned HCX migration types:

Figure 7.58 – HCX migration types
- You can monitor the migration progress by expanding the migration group and selecting the specific VM that is being migrated, as shown in the following screenshot:
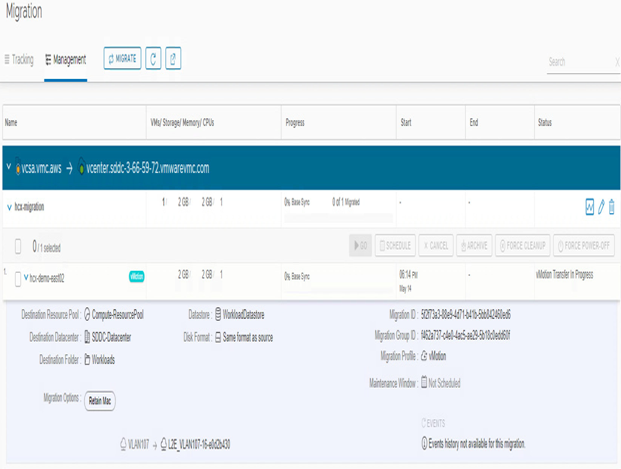
Figure 7.59 – The HCX migration progress
Once the migration is completed, the progress bar will turn green, as shown in the following screenshot:
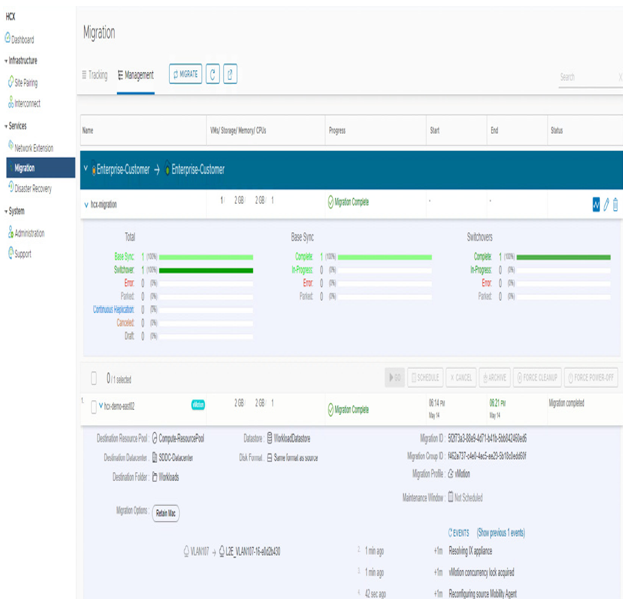
Figure 7.60 – The HCX migration completed
Now, we will go on to discuss the principles of log management in your VMware Cloud on AWS SDDC.

